How to Compress a Video on iPhone
Updated July 7, 2026 · by Oguz Yildiz
To compress a video on iPhone, you either lower its resolution and bitrate with a compressor app, or squeeze a smaller copy out of iOS’s built-in sharing tricks. The app route is the real answer: a two-minute 4K clip that eats 800 MB can come down to well under 100 MB with no visible difference on a phone screen. Here are both methods, and how to choose your quality level.
Why iPhone videos are enormous
Modern iPhones record 4K at up to 60 frames per second — roughly 400 MB per minute in high-efficiency format, and far more in the compatibility format. That fidelity is wonderful exactly once: when you might want to crop or re-edit. For the 99% of clips that will only ever be watched on a phone, most of those megabytes are invisible. Compression removes the invisible part.
Method 1: The built-in workarounds (quick, limited)
iOS has no “compress video” button, but two features produce smaller copies. Recording at 1080p/30 in Settings → Camera shrinks future videos. For existing ones, Mail and Messages offer to send a reduced-size version — you can mail a clip to yourself and save the attachment. It works, but you don’t control the quality, it is one clip at a time, and long videos exceed attachment limits. Fine for a single share; useless for reclaiming storage.
Method 2: Compress properly with SwipeClean
- Select your videos. Open SwipeClean and pick one clip or a whole batch — each shows its current size, so the 2 GB monsters reveal themselves immediately.
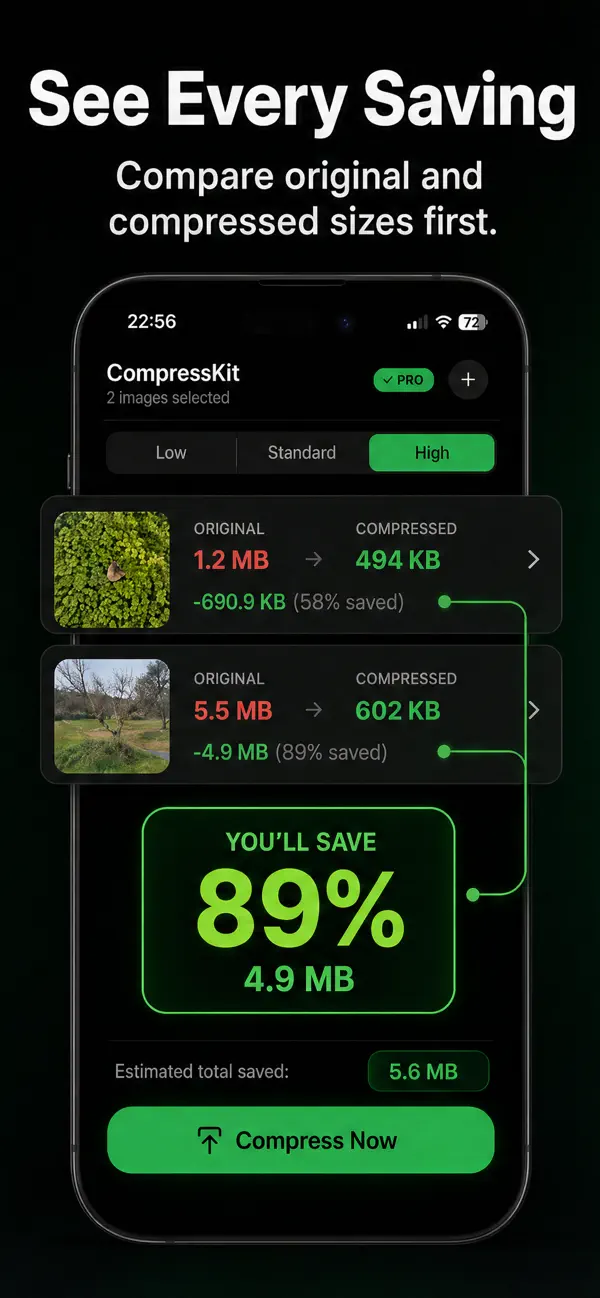
- Pick a compression level. Low, Standard, or High. High routinely saves 80–90% on camera footage; Standard is the safe default when you plan to keep the compressed copy as the only copy.
- Check the preview numbers. The app shows original vs. compressed size and percentage saved before you commit — a 5.5 MB → 602 KB style readout for every item.
- Compress and choose what to keep. Processing runs entirely on-device (no upload, works offline). Keep the originals until you have spot-checked a few compressed clips, then let them go.
Which quality level should you pick?
- High compression: clips you will only rewatch on a phone — everyday moments, long recordings, anything destined for a group chat.
- Standard: the balanced default; comfortable on a TV screen, still 60–80% smaller.
- Low: footage you may want to edit or print stills from — modest savings, maximum headroom.
One rule covers most decisions: if you had to look for the difference, the difference doesn’t matter.
Related questions
Does compressing a video reduce its quality?
Technically yes, perceptibly rarely — camera bitrates are far above what screens can display. The honest exceptions are heavy re-editing and large-screen playback of fast motion, which is what the Low preset is for.
How do I compress a video for email or WhatsApp?
Compress with the High preset first, then attach the result — you stay under attachment limits while controlling the quality yourself instead of letting the messenger butcher it.
Videos are done — what about the photos?
Same workflow, even easier wins: see how to reduce photo file size on iPhone, or start with the full storage cleanup checklist.