How to Digitize Old Photos with Your Phone
Updated July 7, 2026 · by Oguz Yildiz
The fastest way to digitize old photos is the one already in your pocket: a phone camera, good light, and a steady technique will capture a shoebox of prints in an afternoon at quality that comfortably beats drugstore scanning services. This guide covers the setup, the per-photo technique, formats and organization — and the step most people skip, which is restoring each scan the moment it is captured.
Phone vs. flatbed vs. scanning service
A flatbed scanner still wins on absolute fidelity, and a mail-in service wins on zero effort — at per-photo prices that sting at shoebox scale, plus weeks of your originals being elsewhere. The phone method wins on speed, cost, and control: modern iPhone cameras out-resolve the grain of most consumer prints, so for family-archive purposes the phone capture is not the bottleneck; lighting and flatness are. Refect builds the capture step in: its scan camera crops and de-skews the print, then feeds the result straight into restoration.
The setup (five minutes, once)
- Light: daylight from a window, photo flat on a table beside it. No overhead lamps (glare), no direct sun (harsh shadows), flash off.
- Surface: a dark, matte background makes automatic edge-cropping reliable.
- Position: phone parallel to the print — the number-one quality factor. Two hands, elbows on the table, or a cheap phone stand.
- Handling: clean dry hands or cotton gloves for fragile prints; slide photos out of album sleeves when safe.
Digitizing and restoring, photo by photo
- Scan with Refect’s built-in camera. Fill the frame with the print; the app handles cropping and perspective.
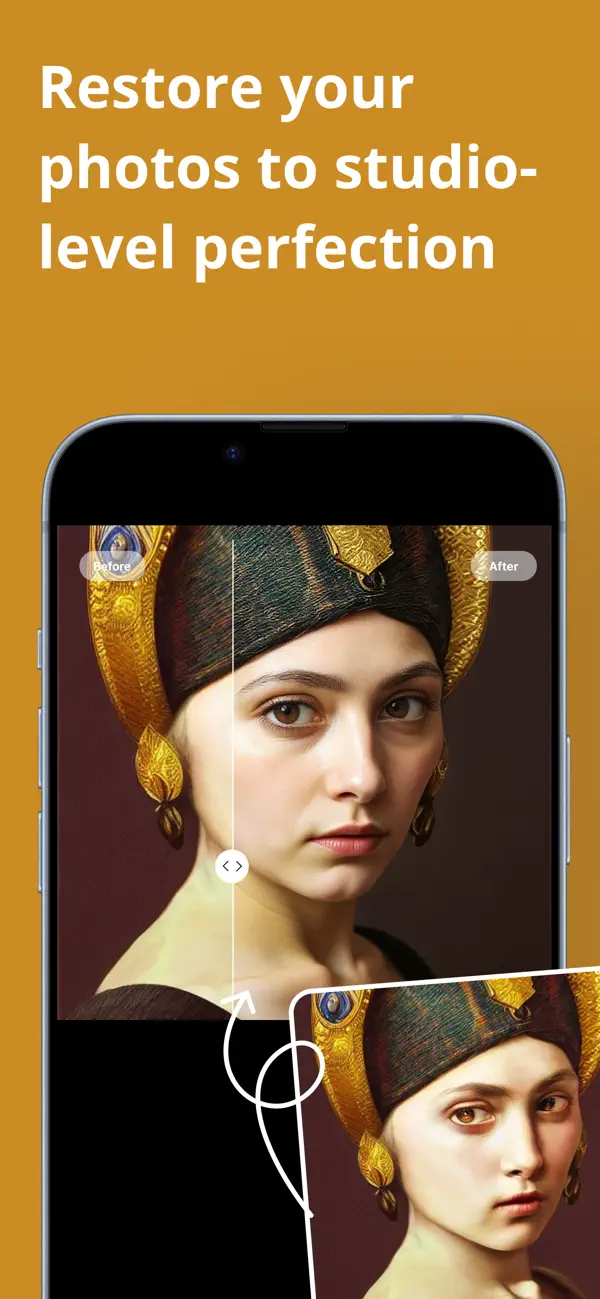
- Restore immediately. One tap removes the scratches, fading, and creases the scan just captured faithfully. Doing it per-photo keeps the pipeline moving — no “fix them all later” folder that never gets fixed. (The details are in how to restore old photos.)
- Colorize and enhance selectively. Not every photo needs it; the ones going in frames or family chats do.
- Export and back up. Full-resolution JPEG/HEIF for sharing, lossless PNG/TIFF for the archive copies — then back the folder up somewhere that is not the same phone.
Organizing a shoebox project
Sort physically first — by decade, event, or person — and digitize in batches; the sort order becomes your folder structure for free. Name folders by era (“1970s — grandparents’ house”), keep raw scans and restored versions separate, and note names on the back of mystery photos as relatives identify them. A 200-print box is typically two or three sessions of an hour each: shorter than the arguments about who keeps the originals.
Related questions
What resolution do I need for old photos?
For 4×6 prints, any modern iPhone capture exceeds what the print contains. If you plan large reprints, Refect’s 8× upscaling on the restored scan covers the gap — see the enhancement guide.
How do I digitize photos stuck in magnetic albums?
If the print will not release without tearing, photograph it in the album: kill the glare by angling the album away from the light and shooting square-on. Restoration removes most of the plastic-sheen haze afterwards. Never force a stuck print.
Do slides and negatives work with this method?
They need backlight — a tablet at full brightness under the negative works in a pinch — and inversion, which is a different workflow. Prints first; they are usually the bulk of the box anyway.